Our Location
Brugata 1
0186 Oslo
Norway

A new video has just dropped on YouTube the subject of getting started with Recore A8. The main focus is show newcomers how to set up the board when it first arrives and how to “find it”. There is also a section on how to get Wi-Fi set up. A shortcoming of the current software is the fact that there is no way to get Wi-Fi set up without some way to get in touch with the board is a bit of an Achilles’ heel in the getting started workflow.
Below are some notes on the video, easier to copy-paste if needed.

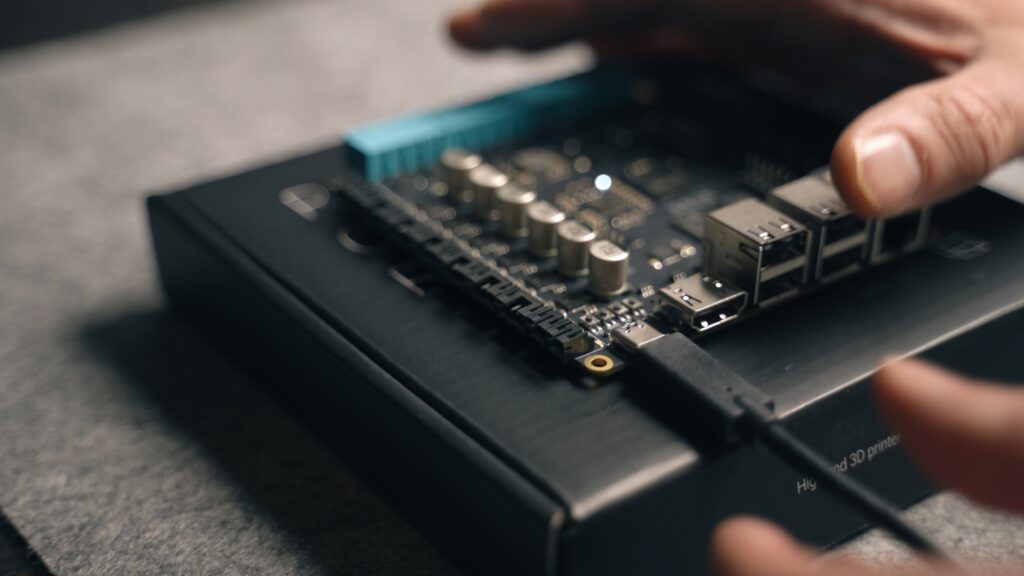
After unpacking the board, it’s good to power it up using the USB-C connector. The box can be used as an isolator, so you don’t subject the board to static electricity. You should be able to see activity on the CPU and the eMMC leds and after a few seconds the heartbeat led will start flashing.
At this point there are three options for controlling the board.
1. Connect the Ethernet cable
2. Connect with Wi-Fi to the board as an access point
3. Use a terminal to get access via USB-C.
If you have an Ethernet cable and a switch available, this is the easiest option. Connect the cable between the board and the switch. The board is set up to get an IP address via DHCP. The board is also configured with Avahi to give it mDNS/DNS-SD capabilities. That means it should be available as recore.local and using avahi-browse -a, it should show up as an SSH terminal.

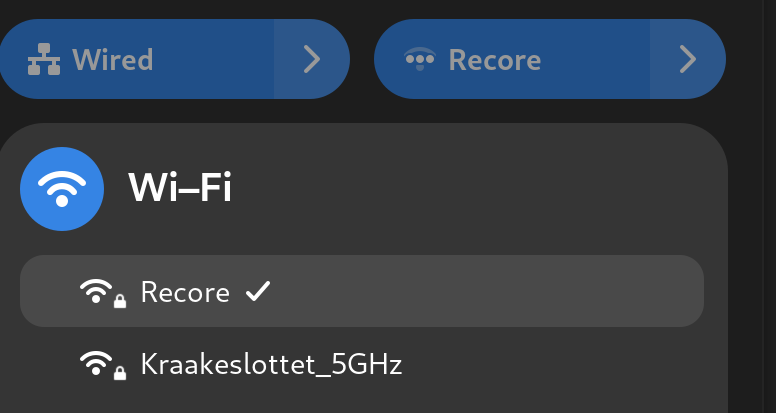
The board can work as an access point or connected to a separate access point. It can be good to check that Wi-Fi is working by connecting to it either from a computer or a phone. Start by connecting a USB Wi-Fi dongle to one of the USB connectors. There should be some activity on the USB led. After running a scan for local access points from a computer or phone, the board should show up as Recore.

Since the board is set up in access point mode, trying to connect to a different access point will drop the connection. Having a good user experience for this is on the list of improvements, but for now we need a separate way to set up Wi-Fi.
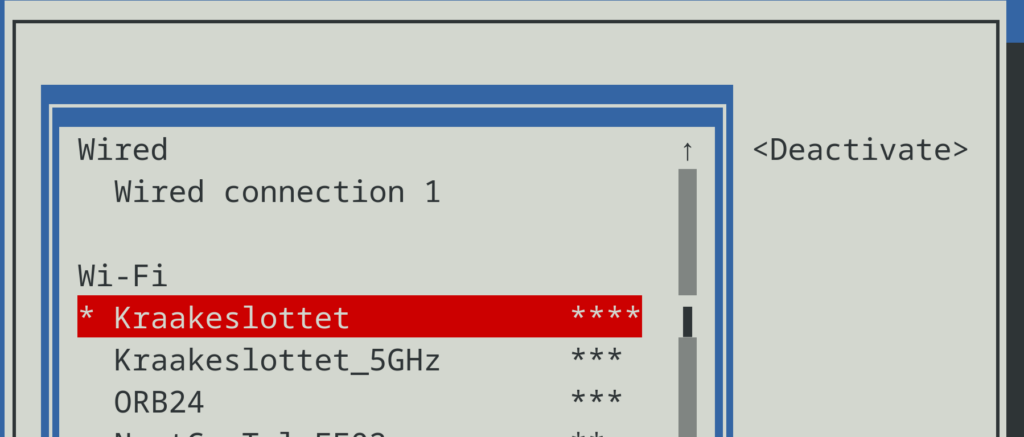
In the video I use the USB-C to set up a terminal and run NMTUI. The hotspot/AP is deleted before running a scan to show local APs. I’m not sure why, but I had to exit and restart nmtui after deleting the hotspot in order to get nmtui to run a scan for local APs. You don’t really have to delete the Hotspot AP, it should be enough to just activate a new connection. A hot tips for getting colors in Minicom is to start it with color enabled (-c on):
minicom -o -D /dev/ttyACM0 -c on
